Sunday 24 October 2010

Edie's Quilt from Patchwork & Quilting Mag 03/10 Issue

Hi!
I have been closeting this beautiful quilt design for months....as you can tell by the title it was in the March issue.


And that was months before I knew my sister managed to get pregnant!  She's been trying for a couple of years now so the news is absolutely wonderful...a miracle!

UNDER NO CIRCUMSTANCES DONOT BUY OR MAKE ANYTHING BABY RELATED....I didn't realise how superstious she was...she the level headed one out of the two of us!

Anyway she is now safer and nearer the edge of the woods!!!
1 month to go and I've been allowed to make a quilt....(NO CLOTHES YET!)


Arn't these fabrics gorgeous....various pink patterns on brushed cotton fabric....so soft!
Oh yes she's a girl!
 I bought them from Creative Quilting when I went shopping at the NEC (oops and some gorgeous embroidery threads!)


Here's their web address http://www.creativequilting.co.uk/.

I bought two Jelly rolls (is that what theyr'e called?!).  10 strips x (why o why can i never find a tape measure when i need one)...DUH...cutting board Jacqui!!
10 strips which are 2 1/2in wide x 43in long.

So I'm just starting...I'm going to make 1 block up first to see how much actual fabric they take and to see if I need to order more....see I am still a quilt novice!
I need to remember to be accurate.  Easier said than done!

Off I go....

Please say hello when you stop by!

Sunday 29 August 2010

PUT THE THREAD DOWN AND WALK AWAY!

REPEATE AFTER ME YOU WILL PRATICE SELF CONTROL AND NOT LET LOOSE WITH SELF ABANDONMENTWITH THE THREAD!


I really want to get to the bottom of the Free Motion sewing technique....


I am totally entranced with this technique....the day disappears when I’m Free motioning!


Here’s the next instalments of my Surface Embellishment course....by the way this is still only lesson 1!


I DO have a very good reason...Ooohh yes there’s been trouble at mill here in Miss Dee’s home! And to think all I wanted was a new sink!!


Anyway back to the interesting stuff.....


The first photo is of my Leaf and Dragonfly which are attached to my window looking very realistic!
Looking at the leaf I should have put more veins on it. I found zigzagging hard to control and some of the main veins have lines of straight stitch showing...

However, I feel I did well on the control front with the fill in pattern on the Dragonfly wings. Gorgeous hey...gold thread on the wings and splodge dyed satin for the body.


What do you think?

The next photo is my attempts at Moss using a garnet stitch and various green plus variegated green.

Ha ha ha yes I'm afraid the moss is too thick!


If it feels stiff you have gone overboard (ME!) and it should be a bit drapey. It should feel soft but has good coverage, AND THEN it is perfect.

My ‘moss’ remains stiff even after thorough rinsing AND soaking over night! It’s too dense.

This photo shows a close up on the machine. And when I look at I think I should have stopped on the first layer of thread!!! Now I know!

I thought whilst I was away in Free Motion land oh this looks like an Island rather than moss! Still, part of my book has a treasure map so this will look perfect!

So I will curb the over working of thread and keeping control........will have to be done by me!!


As always please say Hi when you pass by!

Wednesday 18 August 2010

Fibre Dreams has moved to Ebay!

GOOD NEWS AND SAD NEWS...

A lot has happened since i last wrote.....
I have a new full time teaching job..permanent...so I havent been able to put in the time promoting Fibre Dreams web site so I closed it down.

No don't get me wrong I am up for this new teaching job, I feel as if I got my teaching mojo back there (well half the time!) and I want to keep merchandising crafts stuff too.  Plus i want to learn and get better at the Fibre things I do.
Funny though the Ebay shop Miss Dee's Fibre Dreams was selling more anyway so I decided to focus my efforts on that. 
So a good decision all round!

And hey hoo some fab news too I sold some of the fabric that I hand dyed...this one below with the 12 colourwheel colours.

And the feedback was brill when she recieved them (it's such a buzz when someone else likes your made stuff hey?)

Yep you guessed it, it spurred me on to put up some more of my Hand Dyed fabric.
What do you think?


This is how they are packaged with a ribbon and a bow with my Fibre Dreams tag on!


You can find them here,  http://cgi.ebay.co.uk/100-Cotton-marbled-hand-dyed-3-colours-bundle-FQ-/270619379388?pt=UK_Crafts_Fabric_Textiles_SM  this links you to the 3 colours one of orange, purple and green!


I've started another Quilt University course this time on MACHINE EMBELLISHED SURFACE
I really want to get to the bottem of the Free Motion sewing technique....it's something I've always wanted to master but wasnt sure of the tricks to perfection!

The picture below shows my Trees Overlay for a Fabric Adventure Story book. 
This page is called the Forest Dell. 
The wooden Throne will house a Gem stone to collect.....AND YES THIS IS MY OWN STORY AND SUBJECT TO COPYRITE!

The weird swirly swirls is the cameras fault(!) 
The leaves and trees have organza backing with fabric snippets then free motion to clarify the outlines and details. 
All made possible with water soluable stabilizer (yes you can find some in by ebay shop at competitive prices!).
I am happy with the trunks of the trees but the leaves look clumpy to me so I will have another go.

I have had this story designed for so long, in my design book I have some school stuff written in there from 1996! 
At that time I used to do a lot of hand embroidery and I had made some decisions using those techniques.....then just put the book away without doing anything. 
The pages are perfect for embellishing on this QU course!


But that won't be until after I've completed the single leaf and moss exerises. 
Pictures to come for those!


I keep telling myself GET ON WITH YOUR SCHOOL PAPERWORK!  I wasted at least 3hrs today feeling guilty about it instead of just getting on!!

So as always please say hello if you drop by....

Sunday 25 July 2010

SPRAYIN' AND PLAYIN'!

I've been spraying and playing!
An artist impressioon!


This is my home made strecher frame for my dyeing!
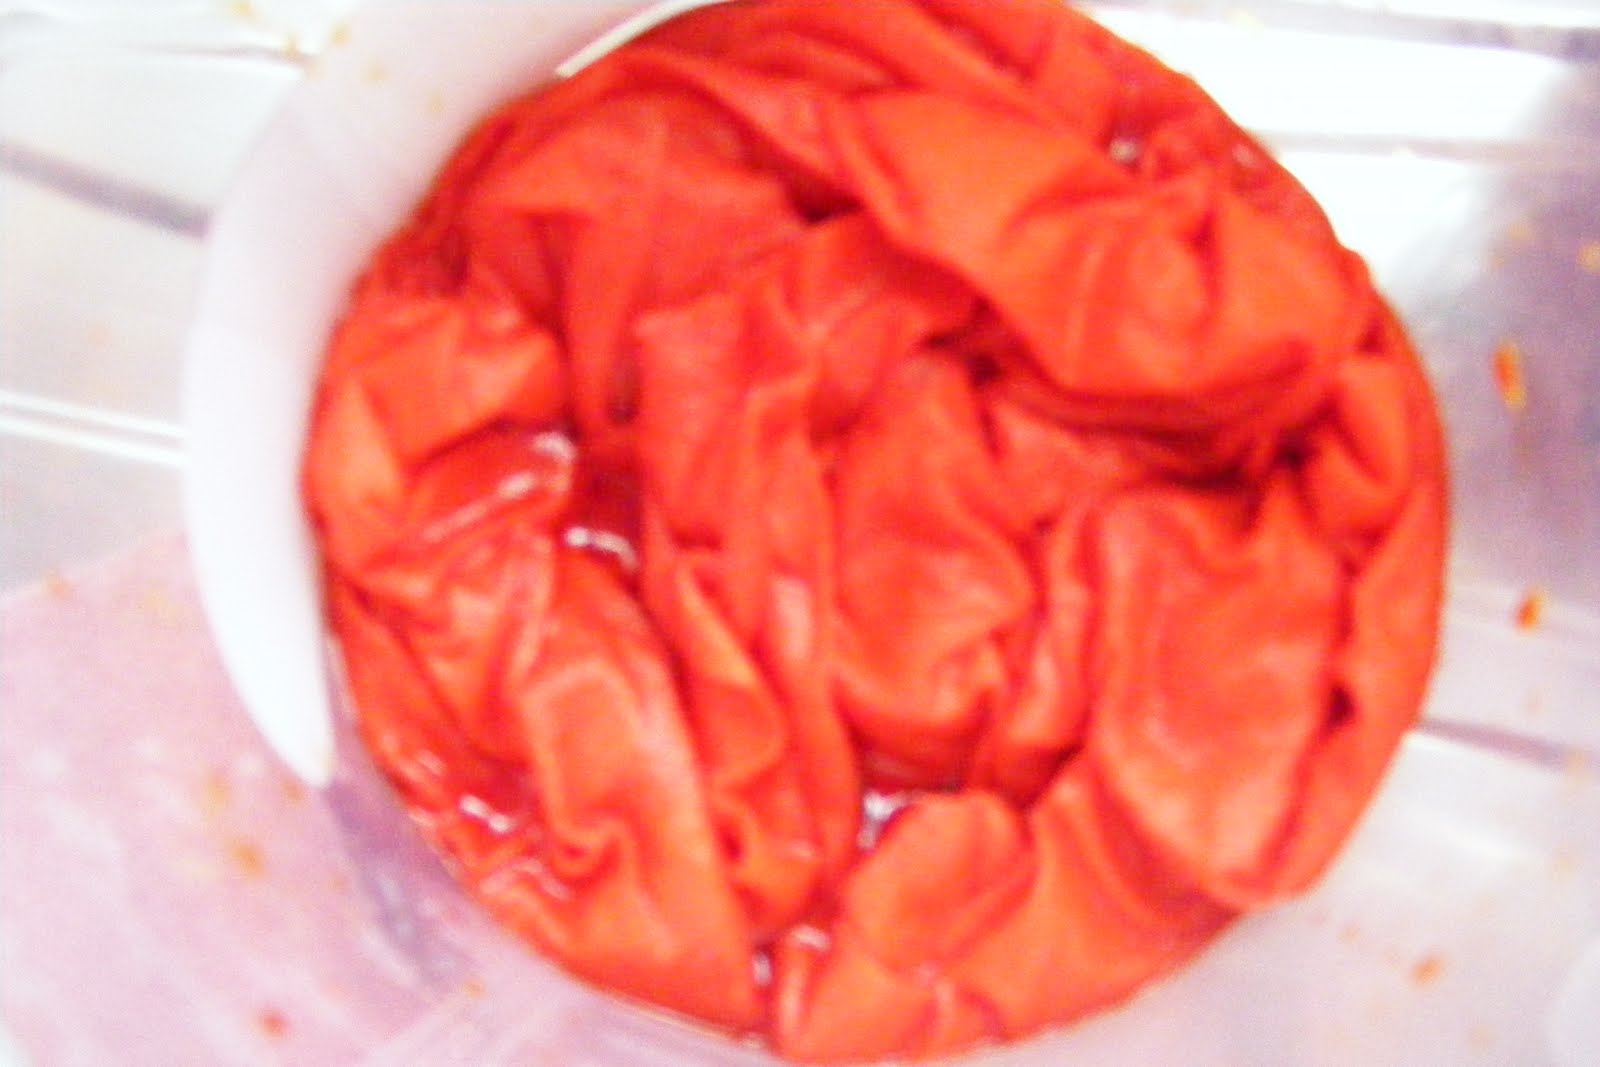
<> , Orange dyed over yellow
Orange spray dyed with mountains and rivers of colour!


Sorry this is so short the blog programme doesnt want to play...so not sure how this looks!
Don't forget to say hello.

Saturday 29 May 2010

BLOOD, SWEAT AND LUSCIOUS COLOUR!

LESSON 4......Right roll your sleeves up and concentrate!

Here’s a photo of my attempts at the Colour wheel Spectrum. I’m afraid there wasn’t time to take photos!

I was with the mad ones on the course and had to have a go dyeing them all in the one go!!

It was a bit of a sweat on.

It was so intense setting out 12 jugs.

Keeping to the right measurements for the 12 separate dye colours, particularly at adding the Salt & Soda stage

But fab fun.

My last purple looks like a reddy brown? But I see that in the student Gallery at the Quilt University a couple of peoples fabric were the same colour...so maybe not wrong!

The true yellow, red and blue are not as noticeably mottled and when I commentated on the Discussion board the tutor asked how many times had I squeezed and flipped the fabric!

So, I will remember next time to not squeeze twice and flip twice. (oo must ensure I make a note of squeeze and flip times for my folder). 
And they sat like flowers on a very warm window sill.


BEAUTIFUL!

Sunday 23 May 2010

Rinsing...rinsing....aching arms!....

Whoo Lesson 2 I enjoyed this too!!


I think I have achieved more intense colours this time.


I’m guessing the water stayed warmer for longer...perhaps!
The jugs of fabric and dye were resting on top of my laundry drier (saving on the chore of hanging out to dry the weeks now clean laundry!) keeping the liquid warmer for longer.


The purple had 3-4 tones in there ranging from light blue to deep violet. The exciting part of pulling this colour out is that while it was in the jug it just looked very dark and all one tone.

I love the secondary colours...especially the green. The mottling on the green was subtle, regularly irregular (!), 2 colours/tones.


Arrhhh little did I suspect that after rinsing...rinsing.... aching arms!....rinsing some parts of the pattern formed in ‘waves’ across the fabric.


The orange was out first to be rinsed right on the hour, followed by green then purple. The purple took so long to rinse...I know I’m repeating myself!


I think I will do more scrunching of fabric on the next go.

The orange has the most colour contrast between the light and dark.

I pinched some dye from here whilst the dye was still fresh...I couldn’t help myself I wanted a go at the Shibori Bonus lesson...then chickened out when I saw how much dye the folded fabric drank!
So the orange was sitting in less liquid than others.


Just waiting for the Shibori to rinse and dry. And I’ll save them for next time!


And just a little sneak preview on some buttons I've bought to sell in my online shop http://www.fibredreams.co.uk/!

Saturday 8 May 2010

Freshly Coloured Fabric.

My decking looked lovely last Sunday with the freshly coloured fabrics moving in the breeze!

They reminded me of the Medieval jousting tournaments with brightly coloured fabrics gently flapping from poles and tents!


Ha and talking about breeze with the instructions and advice of the course tutor the process of dyeing the fabric was a breeze too!

The first lesson was dyeing the three primary colours using the full immersion technique.
The salt and the soda ash were added a bit at a time.


I’m most pleased with the fabric from the show, 100% unbleached cotton.
Although the American Muslin is good too!
It’s all in the mixing of the chemicals....oh and the stirring...10-12 times in the last hour....yes I failed at that! Well the hour went so fast and I was doing something else...the red juice was so enjoyable after concentrating so hard!!

The picture above shows the experimental one after the main dye has been used.

The tutor told us to do it!! She writes that she wanted us to find out why certain amounts of dye are linked to dyeing amounts....

I can’t describe how I felt during and after all this fun!
I do know I felt relieved that there wasn’t mucky or bizarre colours’ hanging there!

The second lesson is already up on the Quilt Uni to start when you're ready...I'm doing mine tomorrow after walking the dog and buying some food...well I have to eat too!

Lesson 2 is achieving mottling patterns on the fabric and mixing the Secondary colours of Orange, Purple and Green...so looking forward to tomorrow!
I'll post the pctures of the results!

Wednesday 28 April 2010

OOOO TWO DAYS TO GO!

Two days two go for my fabric dyeing course...I can't recall the Dyeing jokes I've had thrown at me at work!!!
They just don't understand me!  (you would think I had teenage problems!)

I have just washed my 6mtr of unbleached 100% Cotton...drying over the banister, off the landing!
I acquried a plastic covering today of the houskeeper at my school...thank you!
I have two more days to get the plastic containers together!
My box of Dyes are sitting there like a Christmas chemistry set....antisipation!

I will be recording and photoing for future references!  I'm going to buy a special ring binder too!!
So tune in, save the posts, post your comments and questions, if you fancy learning Basic Dyeing too!

Sunday 18 April 2010

At Last April and Spring.


At last the Spring has sprung!

So when the snowdrops suddenly show up I make a pact to hoover the lawn once a week and plant some colourful flowers again...my single daffodil has come and gone and there is still no bedding plants or decent soil!
Anyway moving on quickly before the garden center guilts set in!

Last month I wrote that I had started a pieced quilt...


I suppose it's not the usual shade grading for a Log Cabin Patchwork block. 
It came about because I had already bought the fabrics with the idea of making a Patchwork quilt....KINGSIZE! 
I had been messing about with making patches using the fabric, when perusing TSF, I came along http://www.thesewingforum.co.uk/showthread.php?t=19093 this thread and thought I'd love a go!

I think I've made at least 6 or 7 mistakes an this quilt...I know you can't see them! 
Things like the fabric is polycotton and moves alot when you press it....
The strips were cut too big so my blocks are HUGH!...oh on and on!!

I guess the main one is my usual problem I try to run before I can walk and just sewing the blocks together was arkward because of their size!! 
I gave up on the idea of actually quilting this top!

 
I decided to use just 18 of the blocks and pair them up with plain and Brodrais Anglais polycotton squares to make a duvet cover instead. 
And lets not talk about finding a not too expensive fabric to make the duvet cover.  Do you realise how expensive that width fabric is!  Ok buy a kingsize flat sheet...are they spun from gold...flatsheets?  I gave in and bought a cheap duvet set and attached the quilt top to it! Et Voila...I really like it....so much it's on my bed now still with threads hanging out!

The last six of the blocks have been made up to quilt.  The blocks have white strips joining them all into a cot sized quilt.  I have white polycotton backing fabric and I've used my iron on wadding to pad it out for quilting.

They are still pinned together to make sure the fabrics don't roam and bunch up.

Well I am pleased with the result if I don't say so myself!
Mind you I have just wasted an hour unpicking the quilting I did last night as the stitches from the top thread are loose on the back side of the quilt!  I'd sewn all along the white sections in rectangles. 

1.  Is the thread too thick for the a) needle or b) the bobbin.
2.  Is this the right needle size now the fabric is three times thicker.
3.  Is the top tension too loose or the bobbin thread to tight.

I'll let you know......Oh well these are the pains and triumphs of a sewers world!


One last bit of news...I've enrolled in the Quilt University!  Yep it's an American site!!  I tried so hard to arrange human classes here, but the ones that were similar to what I wanted to learn were cancelled twice. The one I did start was too beginner for me and then they cancelled that too, not enough takers????.... I contacted another college, their courses arn't starting till Sept...Hhhmmm....what do think?

So watch this space for some colour the course is called 'Cotton Dyeing Basics'! 
My garden might be just shades and tones of green but indoors there'll be riots of colour swatches!  And hopefully not too many items stained!

P.S.  I must apologise for my spelling mistakes last month, the QUILTERS and learner quilters are NOT QUITERS!

Friday 5 March 2010

The Ides of March....white rabbit!

Did you remember to say white rabbit three times on the 1st of March...I did.
I used to have the pupils saying it to! 
Saying it three times is suppose (for those of us who love old suspicions) to ward of evil and bring good luck.
I always live in hope!

Well what you see below is my own design. 
It was something floating in my head....I love Leg of Mutton sleeves...I love the honey coloured stripes and I love the contrasting rib and crochet collar.

Will I wear it...mmmmm...perhaps the design is a little young..I loved knitting though.

So how did my Crazy Patchwork fabric get on, I hear you ask!
Famously.

A few more stripes have been added here.  I am trying for a balance of colour and texture.
You can see the backing fabric of white muslin.  The trick to this technique, on muslin is to press carefully after each piece has been sewn.
So a few more pieces on and this is where it gets hairy!  I have got to the place where two blocks are meeting.  This is repeated four times as there are four blocks of patchwork.  I solved it by leaving some parts unsewn and pressing the loose edges of the last strip to top sew.
I now breathe a little.  All of the muslin is covered.
The next job is to sew each seam down.  Oh yes that's after you press, press and press...don't forget to leave to cool before it's moved!
I decided to put variegated green embrodiery thread for the top stiching. And so here's more fun using the embroidery patterns built into my machine.  Now machine is not an expensive dude by any means but there's more than fourty different stitches....oh design decisions.
My goodnes just think in the past they would do this with hand embroidery.  It must have taken an age.
And then the couching swirls are added.  I have green sparkly thread, multi coloured thread, diagonal white and grey yarn and black and sliver thread couched over with invisable thread. 
Great as you can't see it but bad as you can't see it!
And some more sparkle by the way of green seed beads.  Locked off every now and again. 
I realise if I am going to make some thing out of the fabric I will have to bast around the pattern so the beads do not fall off.

You can get the texture from this close up compared to the pictures that are of the whole piece.
I really enjoyed making that....even the pressing and the overlocking to make it square.  You have heard of the wonky table leg?
I don't want to make anything with it.
Any ideas??

Anyway I have already moved on I am now making a pieced quilt for my bed!  
First time I have done this so I'm looking forward to it....as I said to the Sewing Forum quiters I always have to run before I can walk!  I'll post pictures next time.

So thanks for coming over and please leave a hello.  I would like to see what others are up to in the fabric world...my next door neigbour is a Ravelry knitter...cool!

Sunday 31 January 2010

A new crazypatchwork take on Life!


Dear friends of blog world!

I cannot believe how long it's taken to get back on here! I must say it has been a bit busy here with working with the children!
I have managed to get in loads of creative things though since last year.

Did I make a New Year’s resolution?
NOPE!
Well I suppose I did, it was to not set myself up not to be able to carry things through!!
And surprisingly I've done more!!
Read on for some of the Fibre things I've made.

My very latest fibre challenge....I'm back onto making some crazy patchwork fabric.
I will be looking forward to using my extra large sewing machine extension for free motion embroidering.  Take a look below for pictures of my solution!

So onto some of the things I've made so far....

Dresses for Daughter!


I had to undo the skirt part three times...I should have made sure I marked wrong and right sides!

The drapey part can go over the shoulder.....This is made from Jersey. 
I strengthened the bodice/skirt seam with stretchy knit interfacing...which made sure it did'nt stretch when the parts were sewn together.

The Tartan and Brodre anglais (sorry for the miss spelling!) I really enjoyed making...I seem to like the handle of these types of fabric more than the stretchy ones!!
It's not finished yet as Madame thinks it's too long so wants the hem taken up.....not until she visits again!


Oh and this I made for myself but I don't like it...you know when you have an image in your mind!


It's Jersey again, using the same pattern as the Tartan dress of daughters.  It feels lovely and soft.
But the fabric is so frustrating...I had to re-sew one side seam three times and now I've given up!!!  It'll end up looking like a tube!!! 
I think where i went wrong was in the cutting stage...I think the grain is out on the front skirt...oh well live and learn....cut each section out single...next time!


This is my lovely Bernina.  I bought it as seen here, no table.  I bought it to free hand embroider with...a job it does perfectly without moving tension discs or anything!
But as there's no table my work flops over, the hoop goes off at an angle...I definately need a flat surface around the sewing arm.
First stop Bernina site...no my poor girl is too old for them to stock.  Try ebay....wow really expensive or buy another machine with the table...RIGHT (!) am on The Sewing Forum for ideas...after following all the leads from my sewing pals (SO helpful!) I was still table-less.

"You teach Resistant Materials...can't you make your own?" Thanks good friend...why had'nt I thought of this (truth be known I know these things are laden with possible problems, mostly to do with my skills!!)
Ok 1st step measure

Then make a card template, test this!
Then mark out and cut Acrylic....then do the tedious filing smooth the cut edges.
Oh boy do I sympathise with my pupils!!
So after what seemed like an eternity it was time to drill...four corners and supports inbetween.
The legs are bolts with chair feet on the end!  The picture does'nt show that the table edge is further back...so after the first testing I realised that I need another support in the front.
I will take it back into work for the last drill hole...and go buy a pack of 6 bolts (anybody need five bolts!) and another pack of rubber feet.
I am pleased with it, it will be useful and practical but it so lacks finesse.  I wish I worked in a really posh school that has all the lastest machinery!!

Oh well it will be in time for the free hand embroidery on my crazy patchwork fabric. 
The piece I'm planning on is 31cm wide by 120cm long, this is the width of the muslim fabric.
I'm going for the green colour theme.  I started with tafeta as the base shape with various print cottons surrounding.
Oh that's a better photo! 
My texture is coming along nice too!
The yellow solid cotton reflects the tones in the lace and the green upholsery fabric.

Press Press Press...right I'm off now to sew on some more onto to my crazy patchwork fabric!

I hope I've furthered your interest in THE FIBRE WORLD!! 
I will get back soon for the latest installment of the crazy patchwork life.
Please don't forget to say hello when you stop by.